How to print digital wall art (without it looking cheap)
A printable download is only as good as the print. The good news: getting a crisp, gallery-quality result is mostly about three decisions — paper, printer and size — and none of them are expensive.
What “300 DPI” actually means
DPI stands for dots per inch. It describes how much detail is packed into every inch of the printed image.
- 72 DPI — screen quality. Printed, it looks soft and blocky.
- 150 DPI — acceptable at a distance, visibly soft up close.
- 300 DPI — the print-industry standard. Sharp at arm’s length, which is exactly the distance you view wall art from.
Buying a 300 DPI file means you can print it at its stated maximum size and it will still be sharp. A file described only as “high quality” or “HD” tells you nothing — the number matters.
Quick sanity check: at 300 DPI, a print that is 20 inches long needs a file about 6000 pixels long. If a seller doesn’t state a pixel or DPI figure, assume it won’t hold up at large sizes.
Step 1 — pick the right ratio first
Every artwork has a shape (aspect ratio). Print the wrong one and you either stretch the image or crop off part of it. Check your frame’s opening size, then choose the matching file. A well-made download set gives you the same artwork in several ratios so this is a one-second decision:
- 2:3 — 4x6, 8x12, 12x18, 16x24 in
- 3:4 — 6x8, 9x12, 12x16 in
- 4:5 — 8x10, 16x20 in
- 11:14 — 11x14 in
- ISO A — A5, A4, A3
Step 2 — choose the paper (this matters more than the printer)
Paper changes the result more than the machine does. In order of impact:
- Matte fine-art or archival paper — the best choice for art prints. It absorbs ink gently, keeps colours from reflecting light, and looks like a gallery print. Heavyweight (200–300 gsm) is worth the small extra cost.
- Matte photo paper — the practical everyday option. Widely available, good colour, decent thickness.
- Satin / semi-gloss — fine for photographs, slightly too shiny for minimalist line art and pale palettes.
- Glossy — avoid. It reflects light, shows fingerprints, and instantly reads as a poster rather than a print.
- Plain copy paper — fine for a temporary test, not for the wall. The ink sinks in and colours go flat and grey.
Step 3 — decide where to print
- Home inkjet printer. Perfect for A4 and A3. Cheapest per print, immediate, and surprisingly good on decent matte paper. Set the paper type in the driver to match what you’ve loaded — leaving it on “plain paper” is the number one cause of washed-out prints.
- Local print shop. Best for anything larger than A3. Bring the file on a USB stick, ask for matte paper and “no scaling” or “print at 100%”. Ask them to disable any auto-enhancement; it tends to oversaturate pale palettes.
- Online print service. Cheapest for large fine-art sizes and often the highest quality, because they use pigment inks and archival paper. The trade-off is a few days’ wait and shipping.
Step 4 — the four settings that prevent bad prints
- Print at 100%, no scaling. “Fit to page” adds margins you didn’t ask for.
- Turn off auto-enhance / vivid mode. Muted palettes are muted on purpose; enhancement destroys that.
- Set the correct paper type in the print dialog so the printer applies the right ink density.
- Print one test first. If you’re printing six prints, do one on the real paper before committing to the batch.
Step 5 — handle and frame it properly
Let the print dry for a few minutes before touching it, hold it by the edges (or wear cotton gloves for large archival prints), and frame it so the paper doesn’t touch the glass. A wide white mat costs very little and is the single biggest upgrade to how “expensive” a print looks. Keep the frame away from direct sunlight to slow fading.
How much does it cost?
Roughly: an A4 print on matte photo paper at home costs a few cents. An A3 at a local shop typically runs a couple of dollars. A large 50x70 cm fine-art print from an online service is usually in the region of $10–25 depending on paper. Compare that to framed retail art at $60–150 per piece, and printing your own downloads is not a compromise — it’s just cheaper and more flexible.
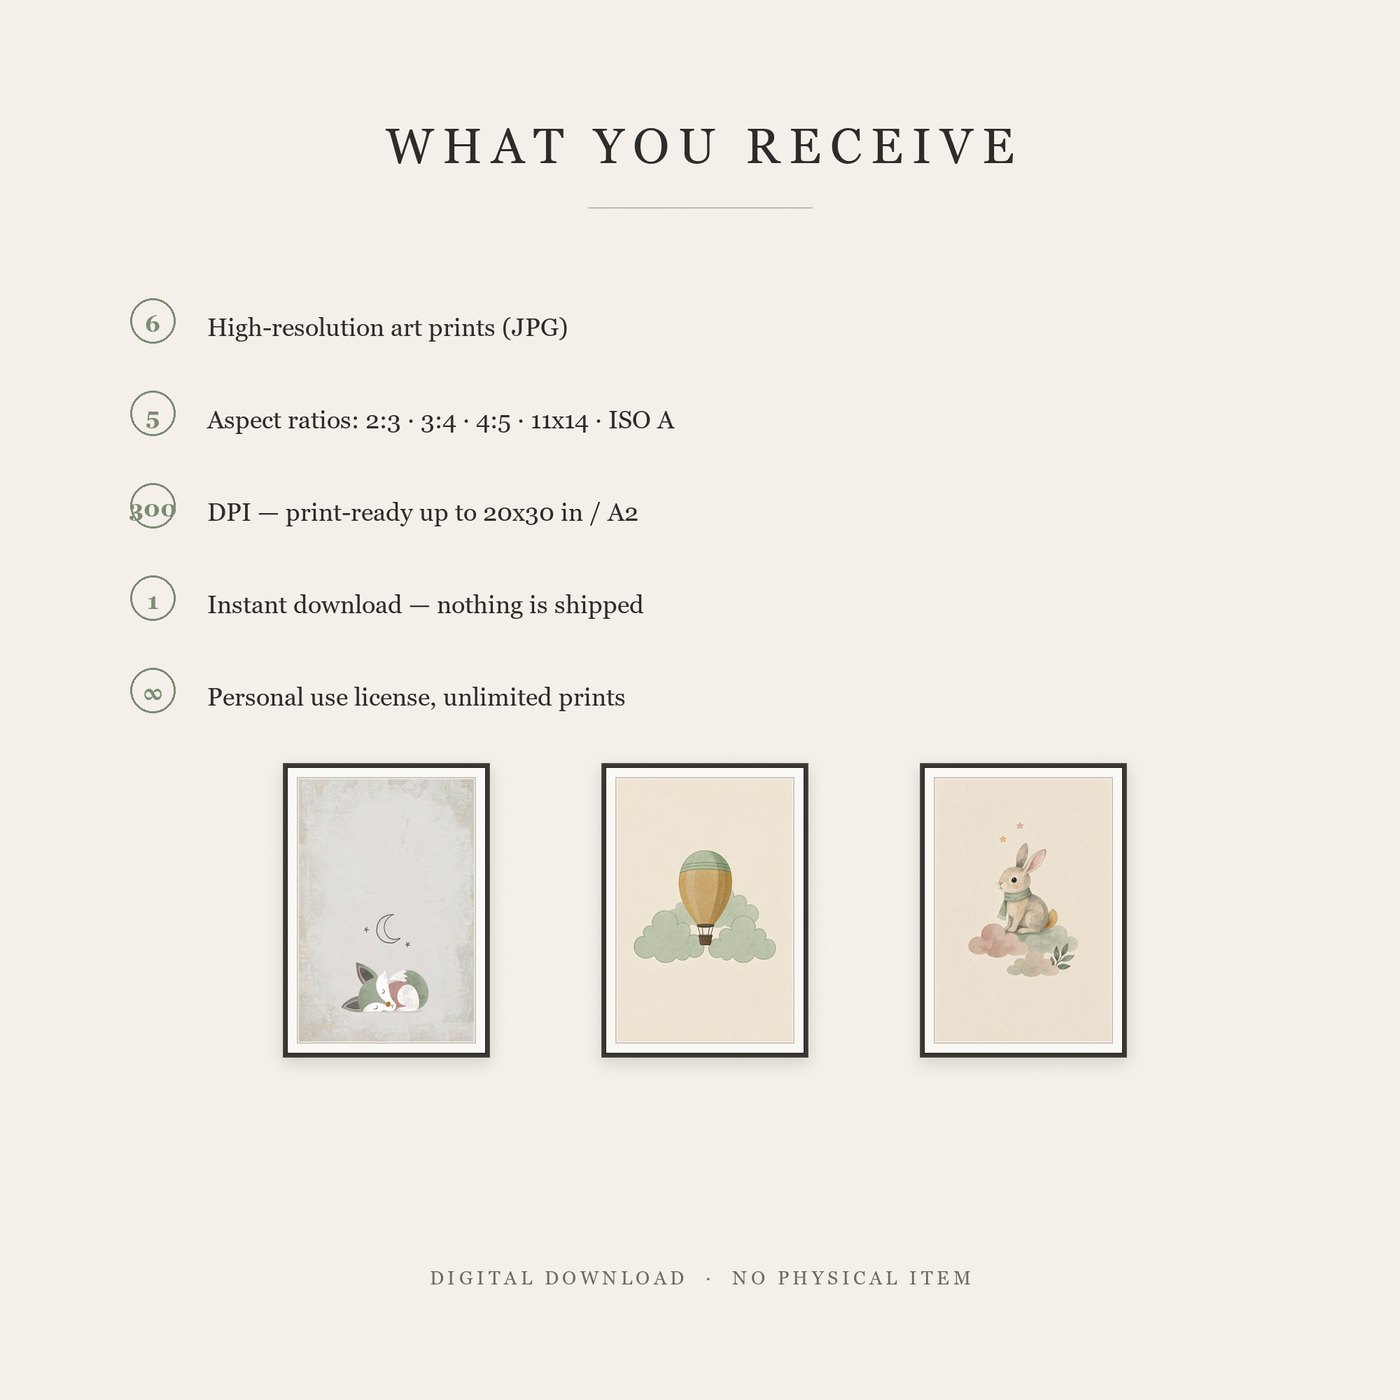
Little Calm — six nursery prints at 300 DPI, each in five aspect ratios, printable up to 20x30 in (A2). Download once, print as many of your own copies as you like.
Get Little Calm — $19.99